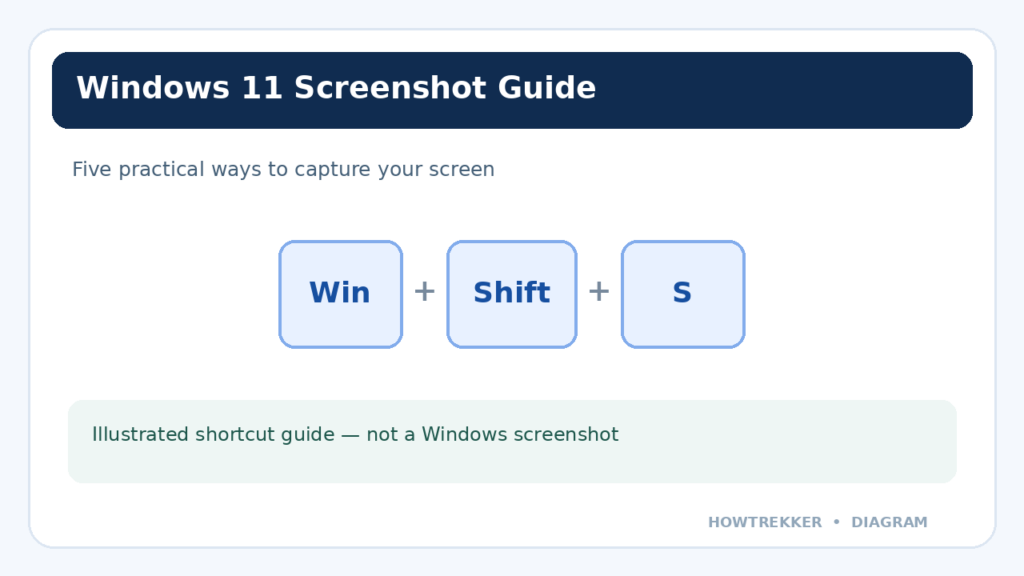
Want to capture your entire desktop, a single window, or just a small part of the screen? Windows 11 offers several built-in screenshot methods, and you do not need to install extra software.
The illustrations below are original keyboard diagrams, not screenshots of Windows.
Quick comparison
- Windows + Shift + S: select an area or capture a window.
- Windows + PrtSc: save the whole screen to a file.
- PrtSc: copy the screen or open the capture overlay, depending on settings.
- Alt + PrtSc: copy the active window.
- Snipping Tool: capture, annotate, and save.
Method 1: Use Windows + Shift + S
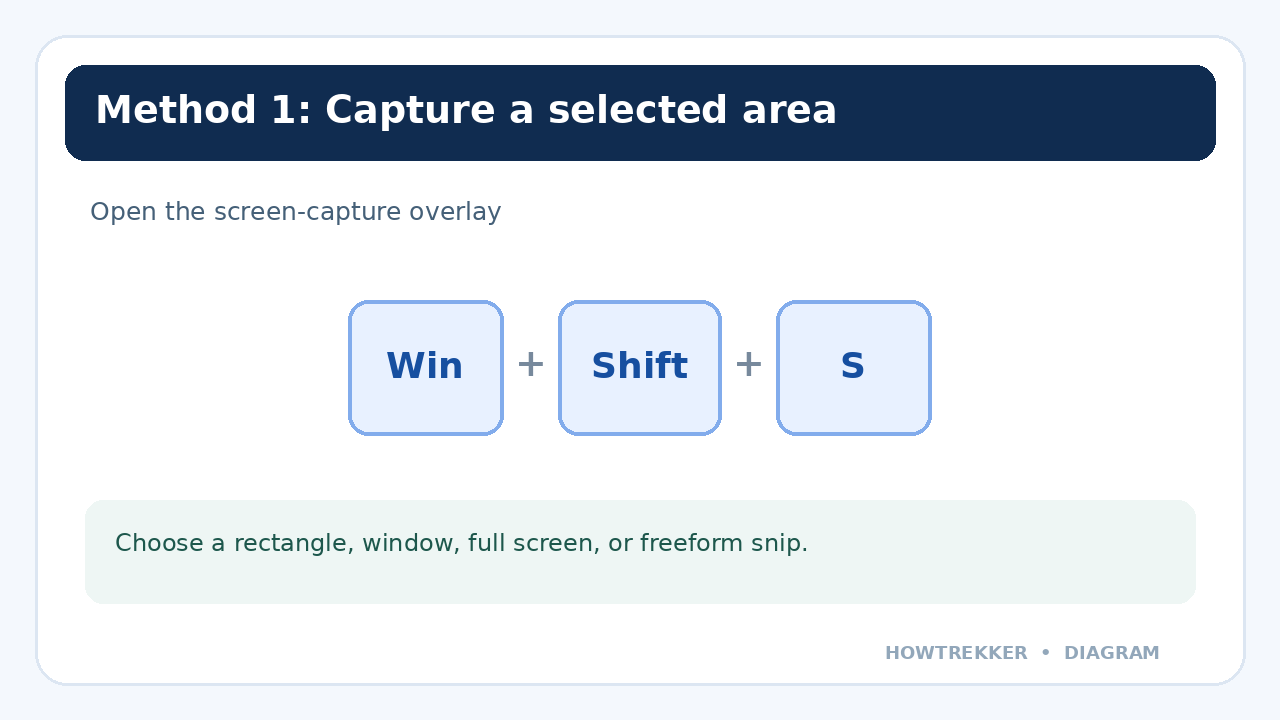
Press Windows + Shift + S to open the Snipping Tool capture overlay. Choose a rectangular, window, full-screen, or freeform capture. For a rectangular snip, drag across the part of the screen you want. The capture is copied to the clipboard, and Snipping Tool can also save it automatically depending on your settings.
Method 2: Save the entire screen with Windows + PrtSc
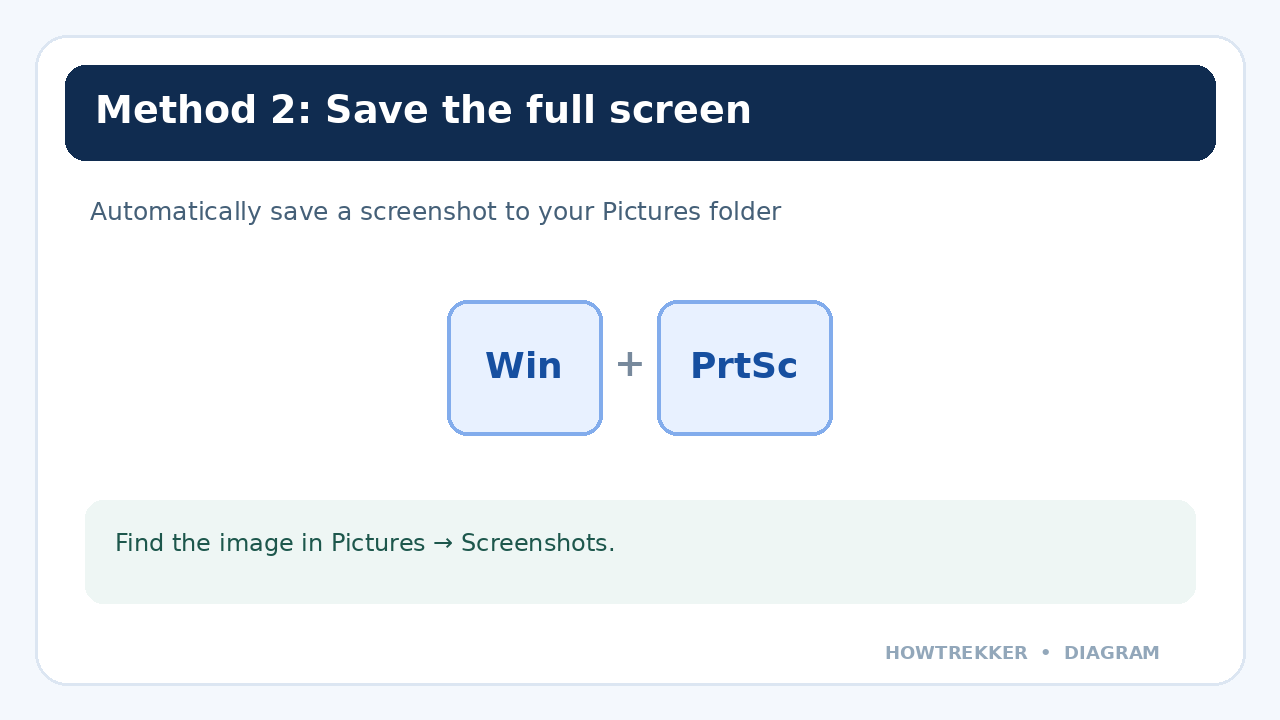
Press Windows + PrtSc to capture your whole display and save a file. Open File Explorer → Pictures → Screenshots to find it. On some laptops you may need to hold Fn as well.
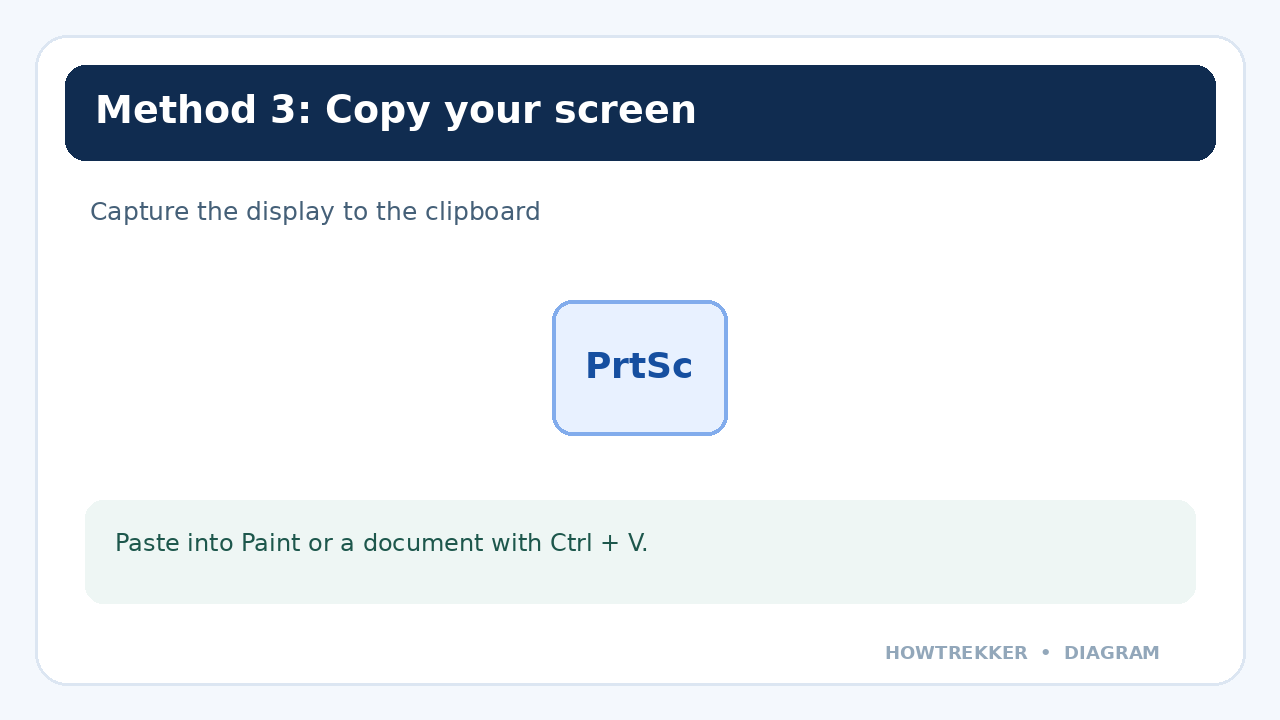
Method 3: Copy the screen with PrtSc
Press PrtSc to copy a screenshot to the clipboard, then open Paint, Word, or another app and press Ctrl + V. Depending on Windows settings, pressing PrtSc may instead open the Snipping Tool capture overlay.
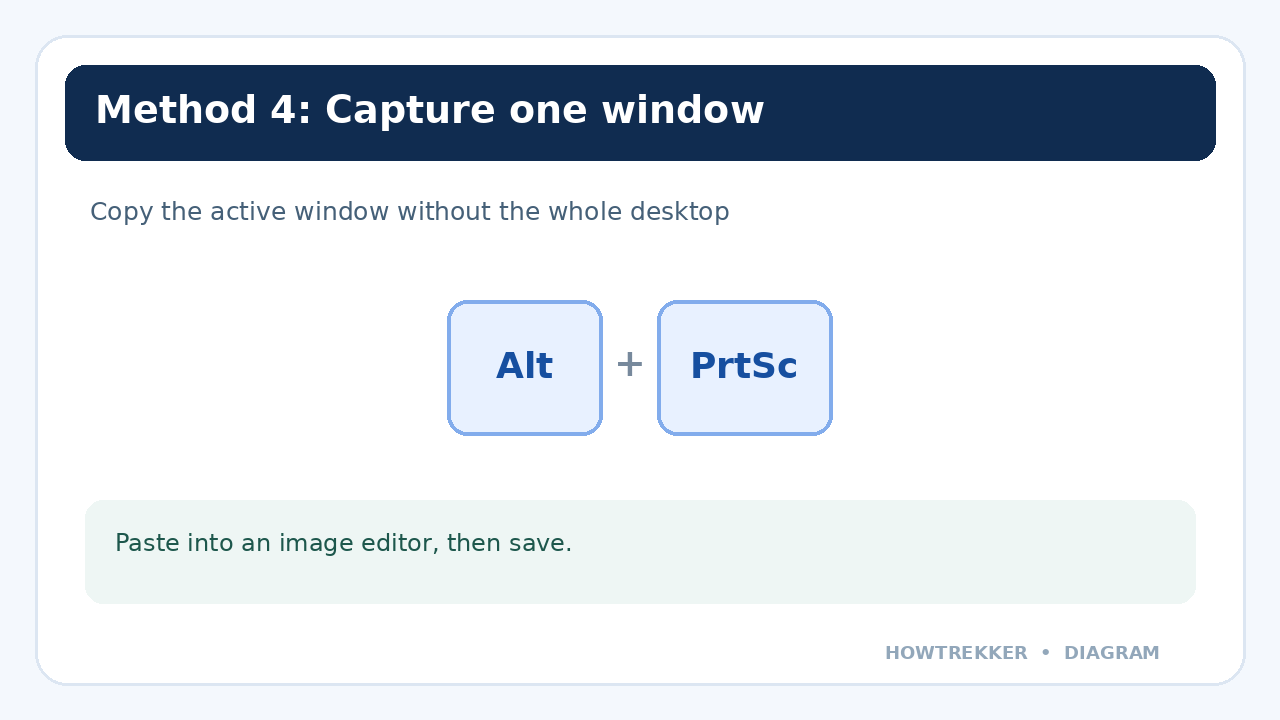
Method 4: Capture only the active window
Click the window you want to capture and press Alt + PrtSc. The active window is copied to the clipboard. Open Paint and press Ctrl + V, then save the image. On some keyboards you may also need Fn.
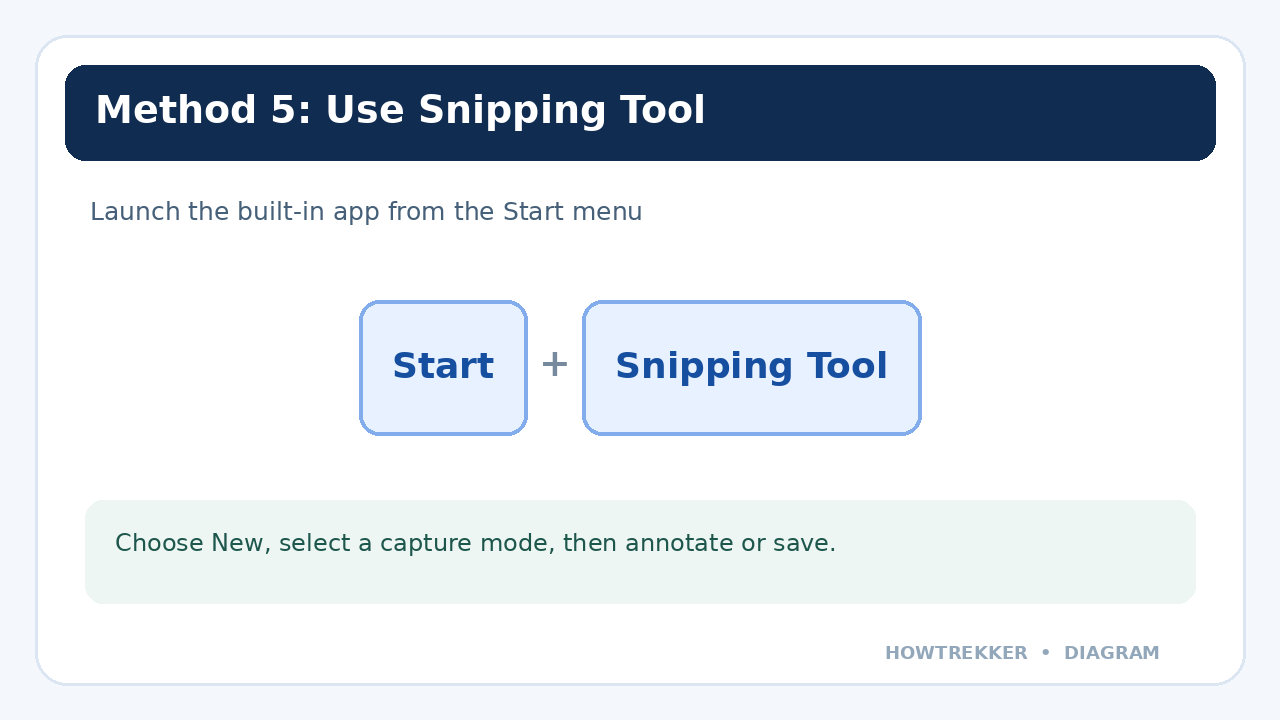
Method 5: Open the Snipping Tool app
Open Start, search for Snipping Tool, and launch it. Select the screenshot mode and click New. You can annotate the result, crop it, copy text with Text actions where available, and save or share the image.
Where are screenshots saved on Windows 11?
Files saved with Windows + PrtSc are typically in Pictures → Screenshots. Snipping Tool may automatically save captures to its Screenshots folder, depending on its settings. Screenshots copied only to the clipboard must be pasted or saved before they are lost.
What if the screenshot shortcut does not work?
Try holding Fn along with the shortcut on a compact laptop keyboard. Check whether your PrtSc key is mapped to the Snipping Tool overlay. If needed, open Snipping Tool from Start and use its New button instead.
Frequently asked questions
How do I screenshot only part of the screen?
Press Windows + Shift + S and drag to select a rectangular area.
Can I take a screenshot without installing an app?
Yes. Windows 11 includes Snipping Tool and several keyboard shortcuts.
Why can’t I find my screenshot?
Some shortcuts copy the image to the clipboard instead of saving a file. Try pasting into Paint, or use Windows + PrtSc to save a full-screen image.
Official source
Microsoft Support: Use Snipping Tool to capture screenshots.