How to Change Wi-Fi Password on Your Router — Changing your home Wi-Fi password can help protect your network, especially if you shared the old password or suspect unknown devices are connected.
This guide explains how to change Wi-Fi password on your router with straightforward instructions. Check the on-screen labels on your own device before proceeding.
Step 1: Connect to your router
Connect your computer or phone to your home router via Wi-Fi or Ethernet. Keep the router powered on during the process.
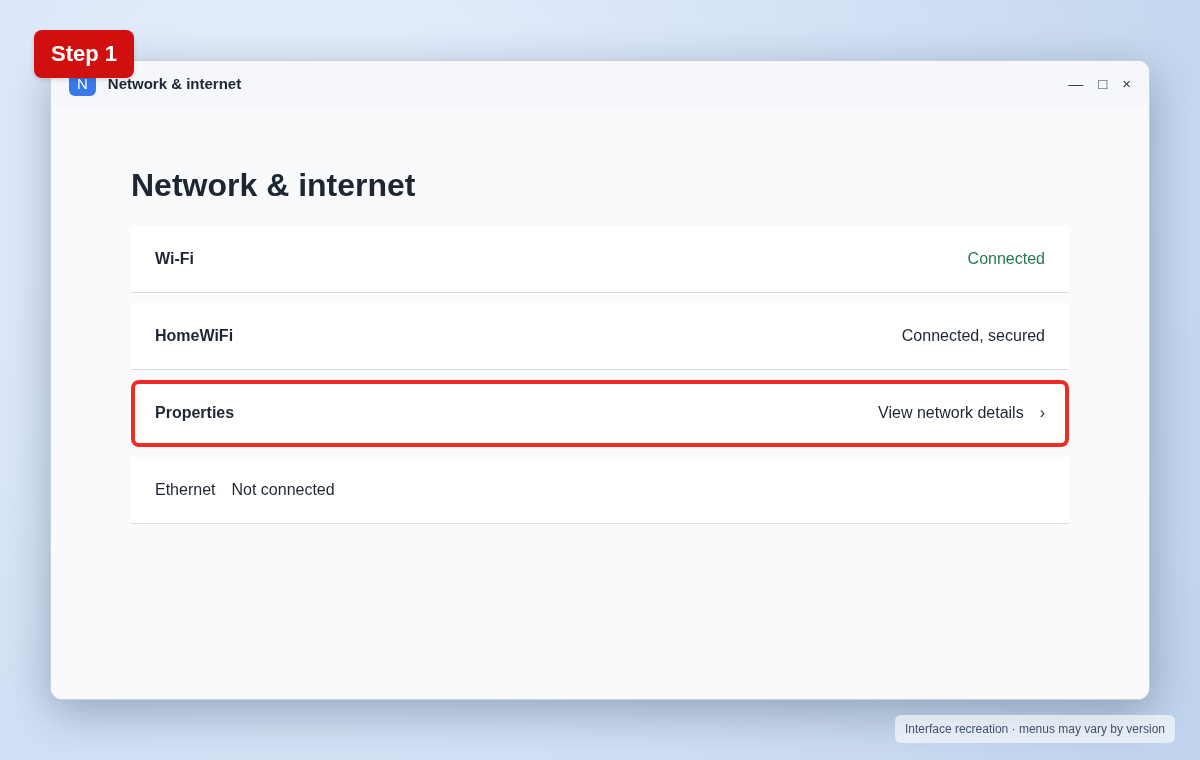
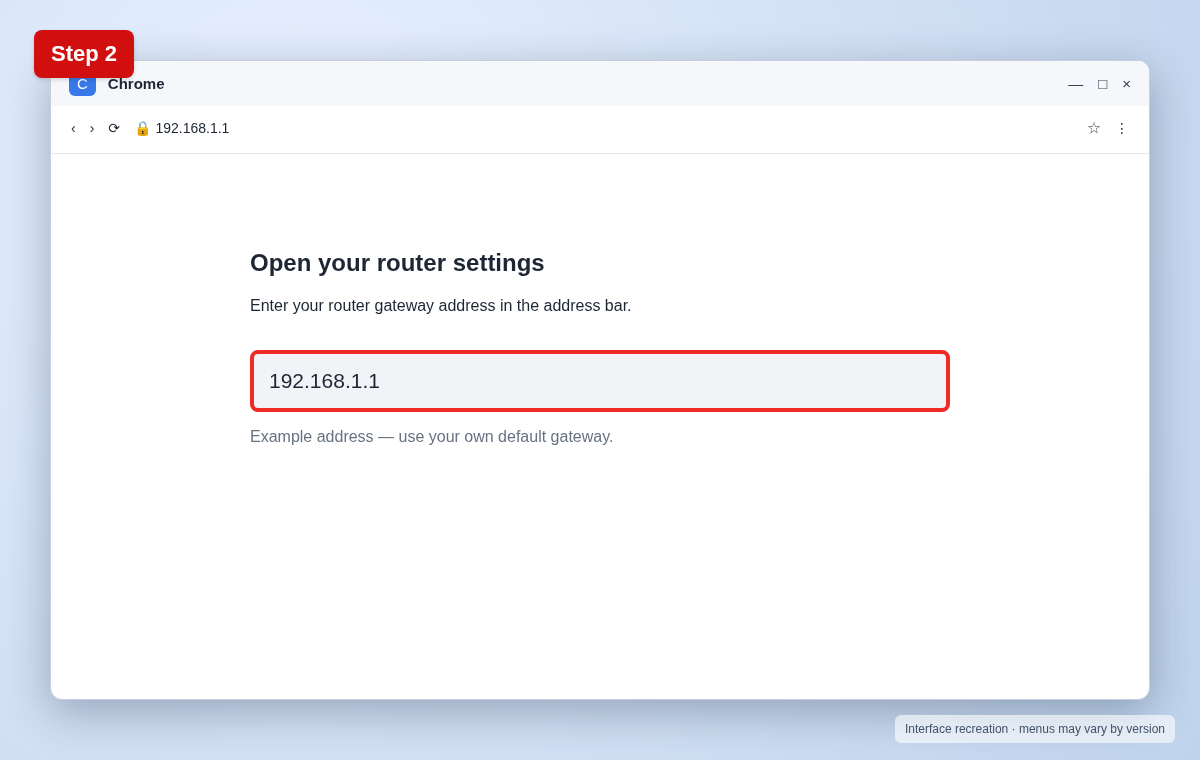
Step 2: Open the router admin page
In a browser, enter the router gateway address shown in your network settings. Common examples include 192.168.1.1 and 192.168.0.1, but yours may differ.
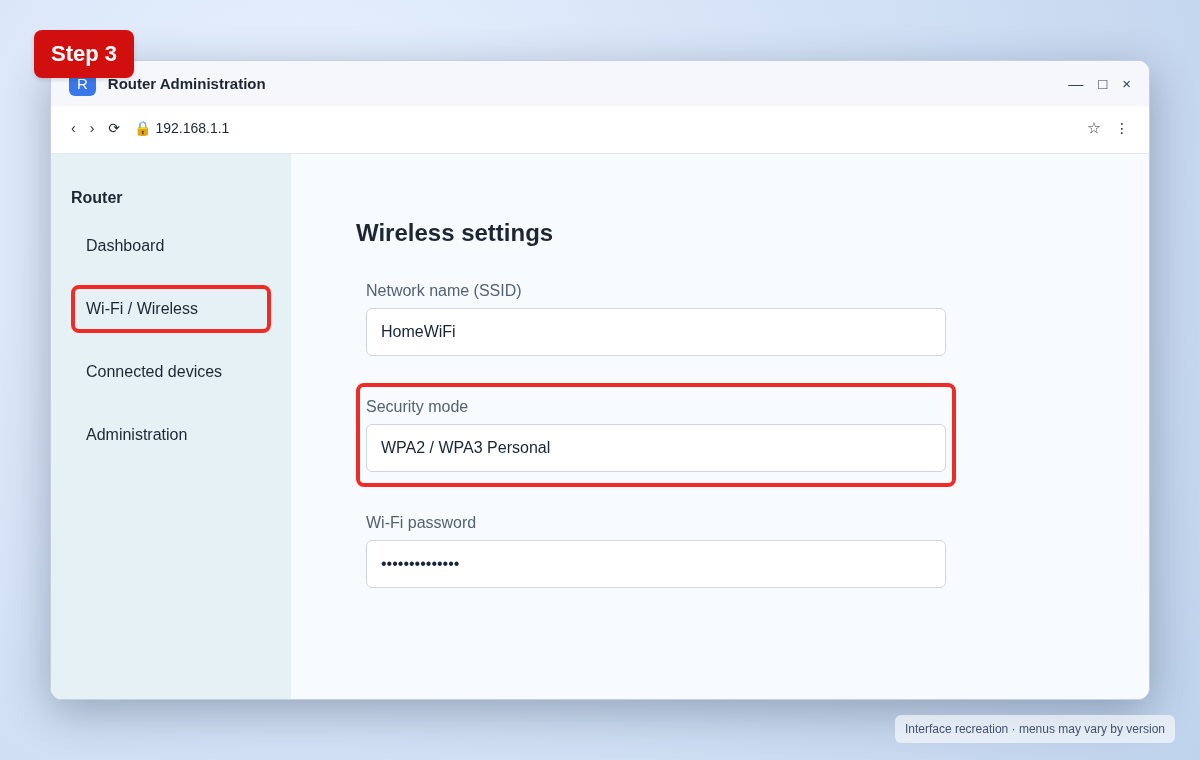
Step 3: Find wireless security settings
Sign in with your router administrator credentials, then look for Wi-Fi, Wireless, WLAN, or Security settings. The admin password is not necessarily your Wi-Fi password.
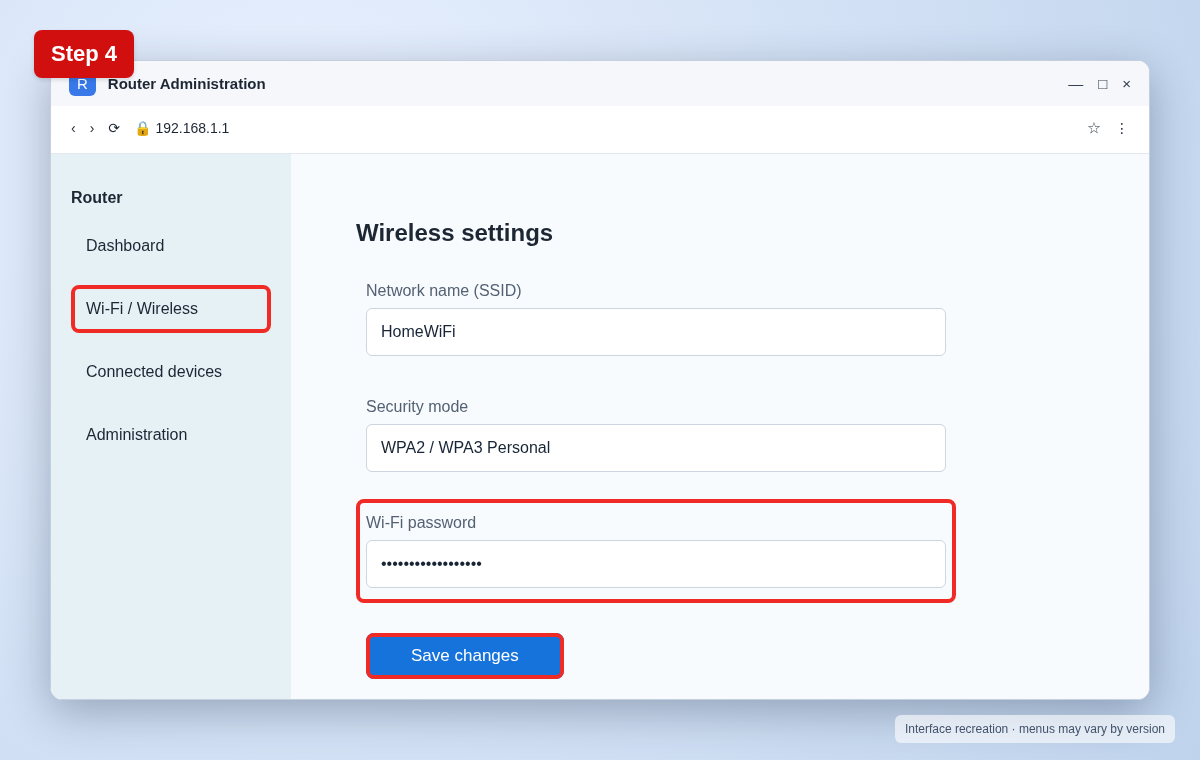
Step 4: Set and save a new Wi-Fi password
Use a long, unique password and WPA2-AES or WPA3 security when available. Save changes, then reconnect all devices using the new password.
Useful tips and precautions
Use official apps and device settings where possible. Before changing important settings, note your original configuration. If your device shows different labels, use its built-in Settings search or consult the manufacturer’s documentation.
Frequently asked questions
Will changing the Wi-Fi password disconnect my devices?
Yes. Devices using the old password will need to reconnect.
What if I forgot the router admin password?
Check the router label or your provider’s instructions. A factory reset is a last resort because it erases custom settings.
Should I change the network name too?
It is optional. Changing the SSID also requires devices to reconnect.
Final thoughts
Now you know how to change Wi-Fi password on your router. If a menu looks different, check your device’s software version and look for the equivalent option rather than guessing.