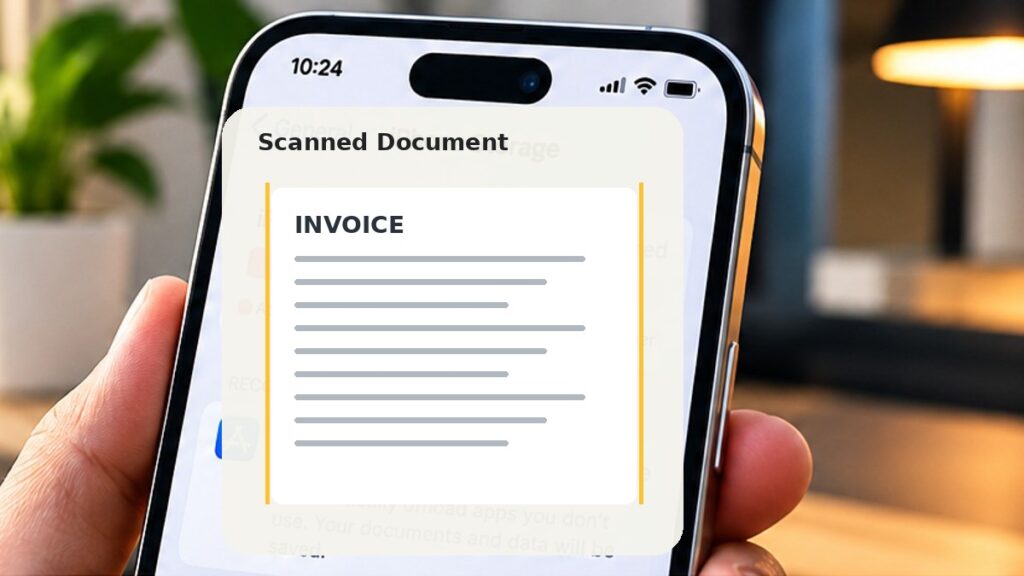
Need to email a signed form, save a receipt, or turn a paper letter into a PDF? You can scan documents on iPhone without installing another app. Apple Notes includes a document scanner that detects page edges, straightens the image, and lets you save multiple pages together.
Quick answer: Open Notes, create a note, tap the attachment button, choose Scan Documents, capture the pages, and save the scan. The exact icons may look slightly different depending on your iOS version.
Before you start
Place your document on a flat surface with good lighting. Avoid shadows and glare. Make sure the camera lens is clean and the entire page fits on the screen.
Step 1: Open Notes and create a new note
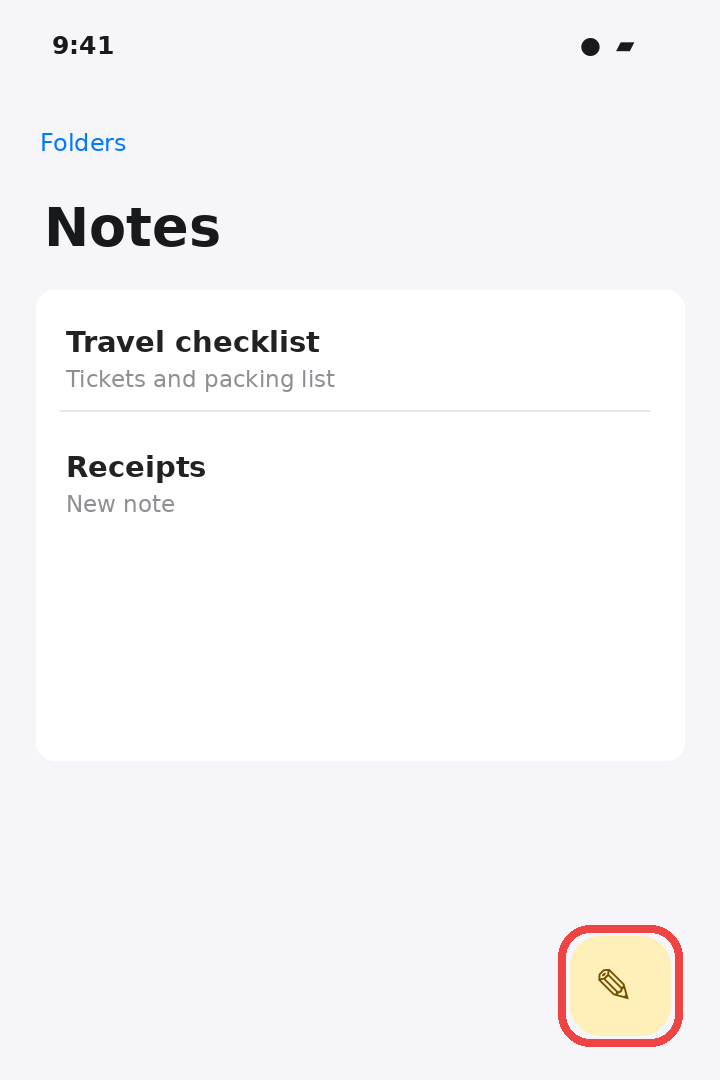
Open Apple’s Notes app. Choose the folder where you want to store the scan, then tap the New Note button, usually shown as a square with a pencil.
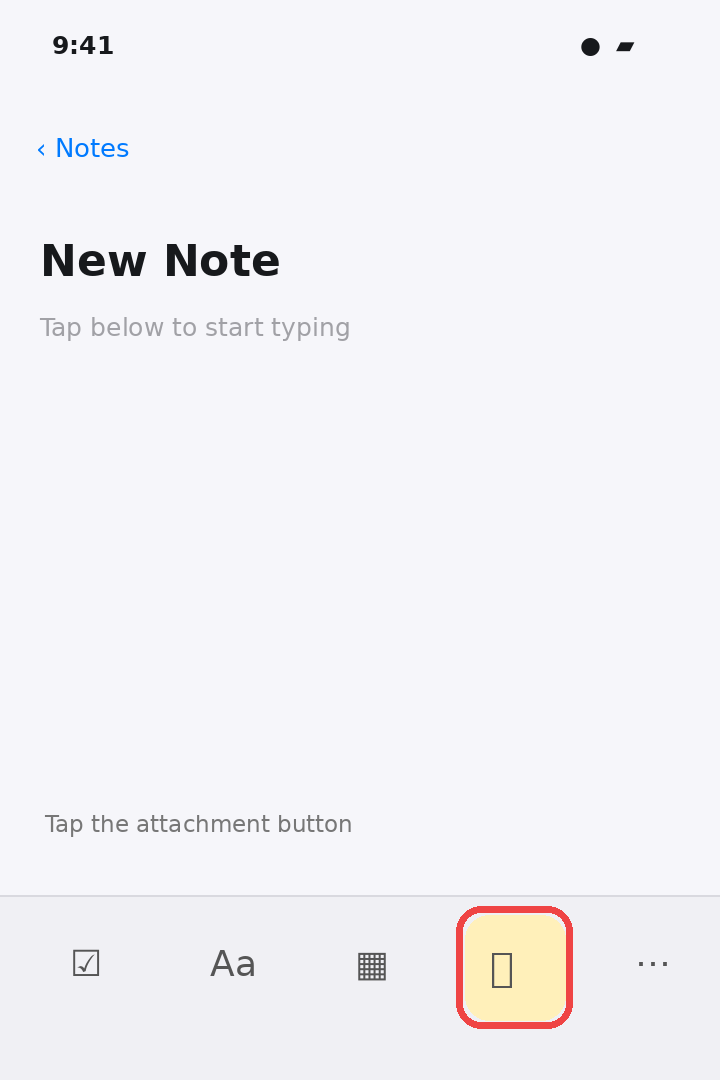
Step 2: Find the attachment button
Inside the note, tap the attachment button (often a paperclip icon) in the toolbar. On some older iOS versions, you may see a camera button instead. If the toolbar is hidden, tap inside the note.
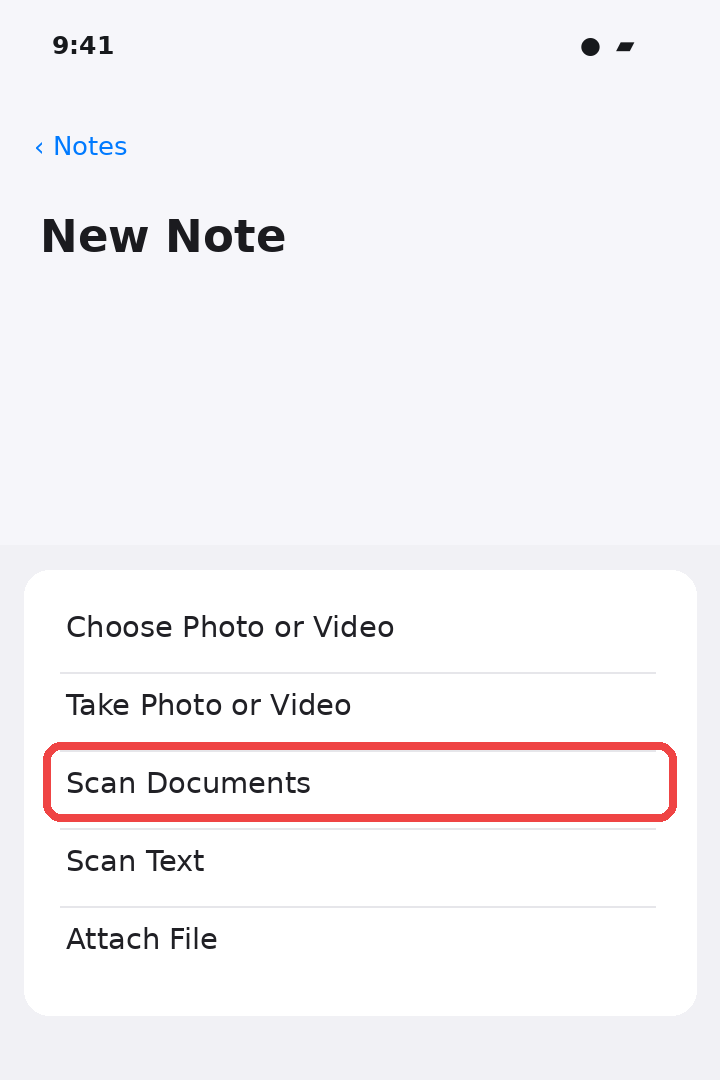
Step 3: Choose Scan Documents
From the attachment menu, select Scan Documents. The iPhone camera opens in scanning mode. This is different from taking a normal photo because Notes can automatically crop and correct the document.
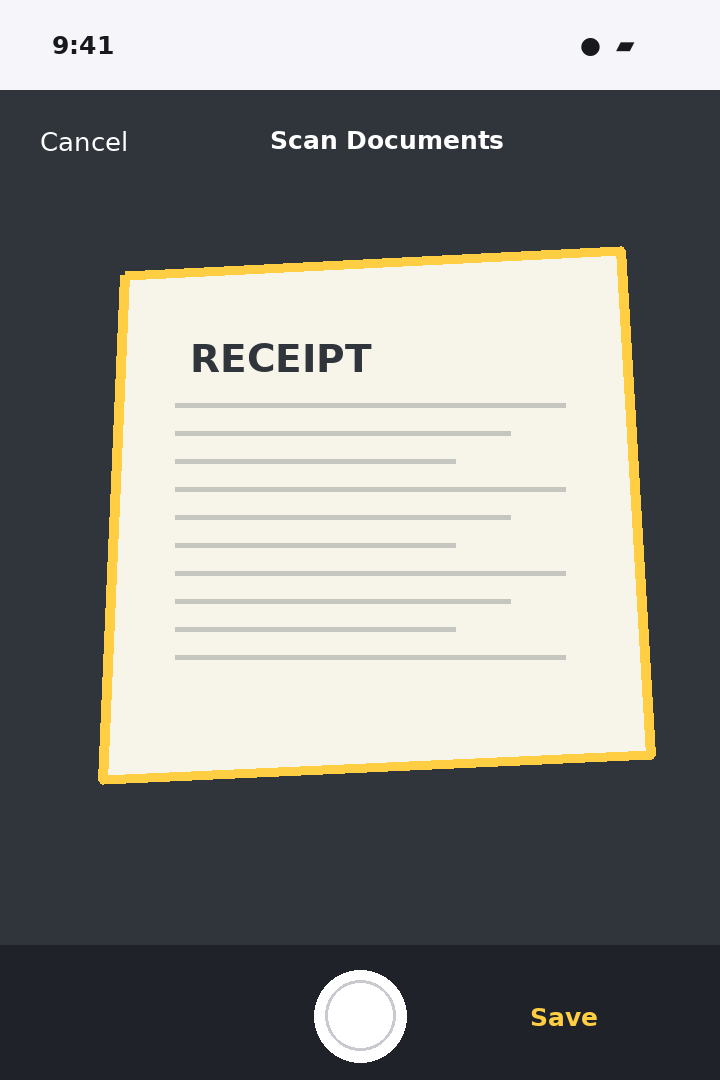
Step 4: Capture and adjust the pages
Hold your iPhone above the document. In Auto mode, Notes may capture the page automatically when it detects the edges. In manual mode, tap the shutter button or a volume button. Adjust the corners if prompted, then tap Keep Scan. Repeat for additional pages and tap Save or Done when finished.
How to share the scanned document as a PDF
Open the note containing your scan and tap the scanned document to view it. Use the Share button and choose Mail, Messages, or Save to Files. Scanned documents can be shared as PDFs. The share options may vary with your iOS version and selected view.
Tips for better scans
- Use bright, even lighting instead of a flash that creates glare.
- Put white paper on a contrasting, dark background so the edges are easy to detect.
- Hold the phone directly above the page to avoid distortion.
- Review each page before sending, especially small text and signatures.
- For sensitive documents, double-check the recipient before sharing.
Frequently asked questions
Do I need a separate scanner app?
No. Apple Notes includes a built-in scanner on supported iPhones.
Can I scan more than one page?
Yes. Keep scanning pages in the same session before saving to create a multi-page document.
Where are my scans saved?
The scan is stored in the note you created. You can also export a copy to Files.
Why is Scan Documents missing?
Check that you are using Apple Notes and that the note is editable. Tap the attachment or camera button; its appearance and position can differ between iOS releases.
Official Apple instructions
For current interface details, see Apple’s iPhone User Guide for scanning documents. Interface images in this tutorial are illustrative recreations, not screenshots captured from a device.